Removing the Varta battery from my Amiga 500+
Summary
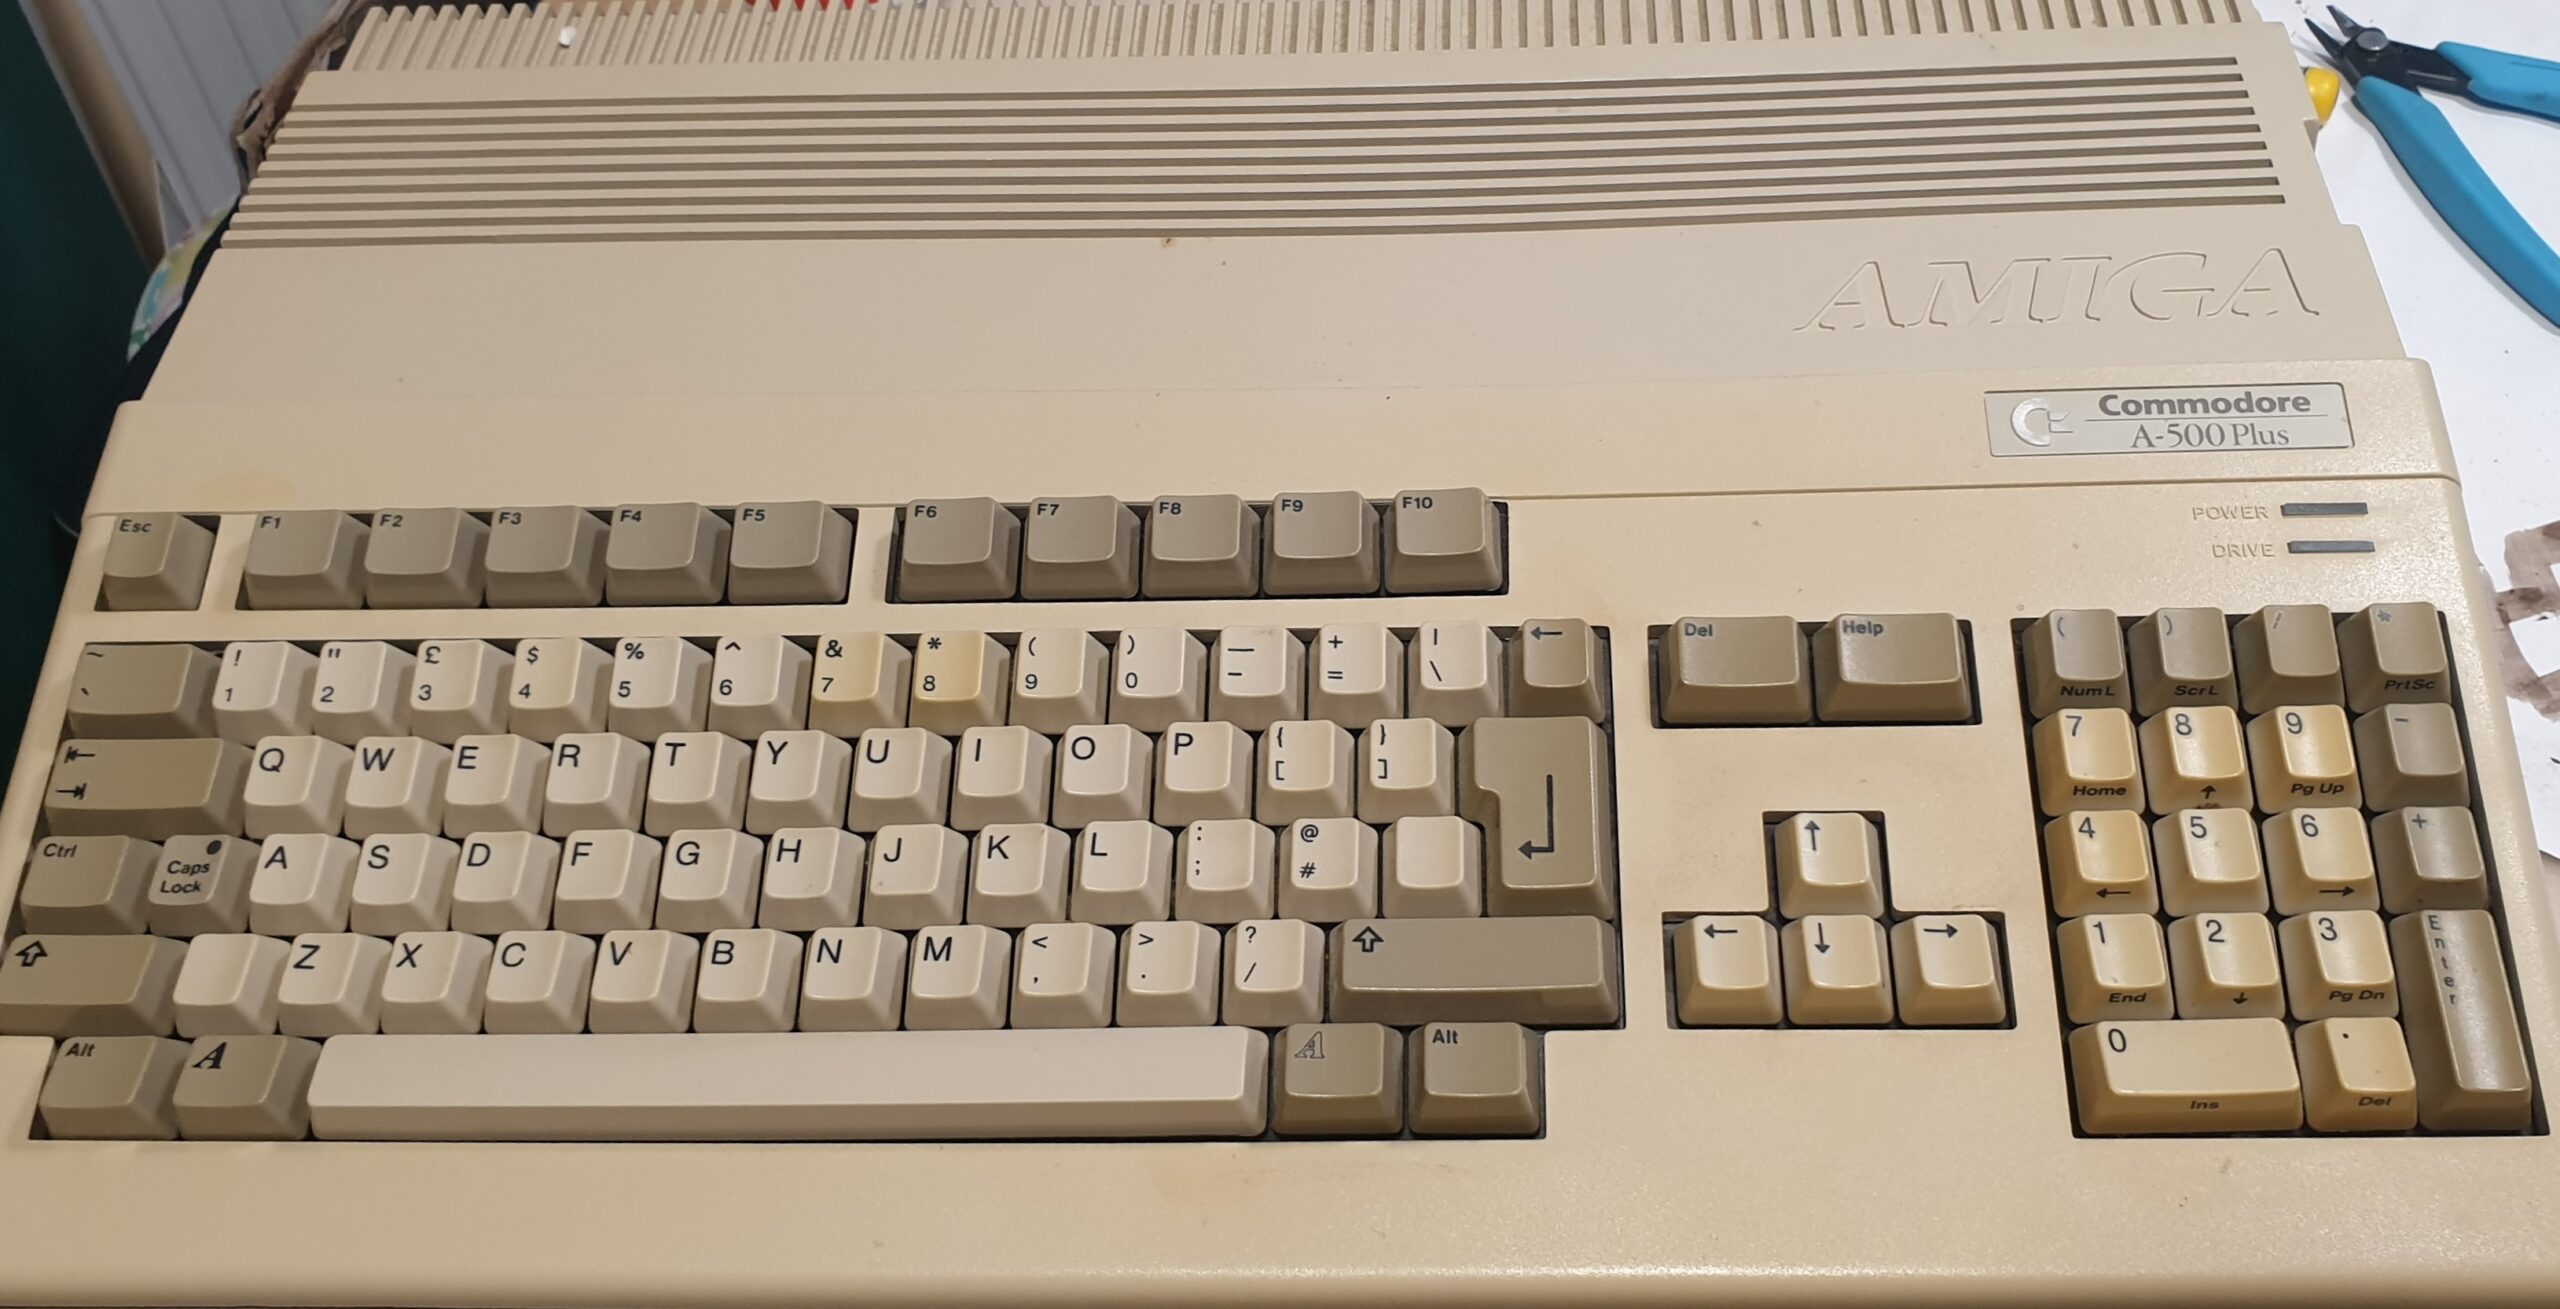
I’ve been watching a number of YouTube videos on old computer restorations and becoming increasingly worried about the state of my A500+ which is stored in the loft. Did or didn’t it have a Varta battery and if it did whether it had leaked. With the current heatwave the loft has the same temperature of the surface of the sun which is not ideal to store old electronics.
This is going to be stage 1: remove the battery if it exists and look for any damage.
Steps
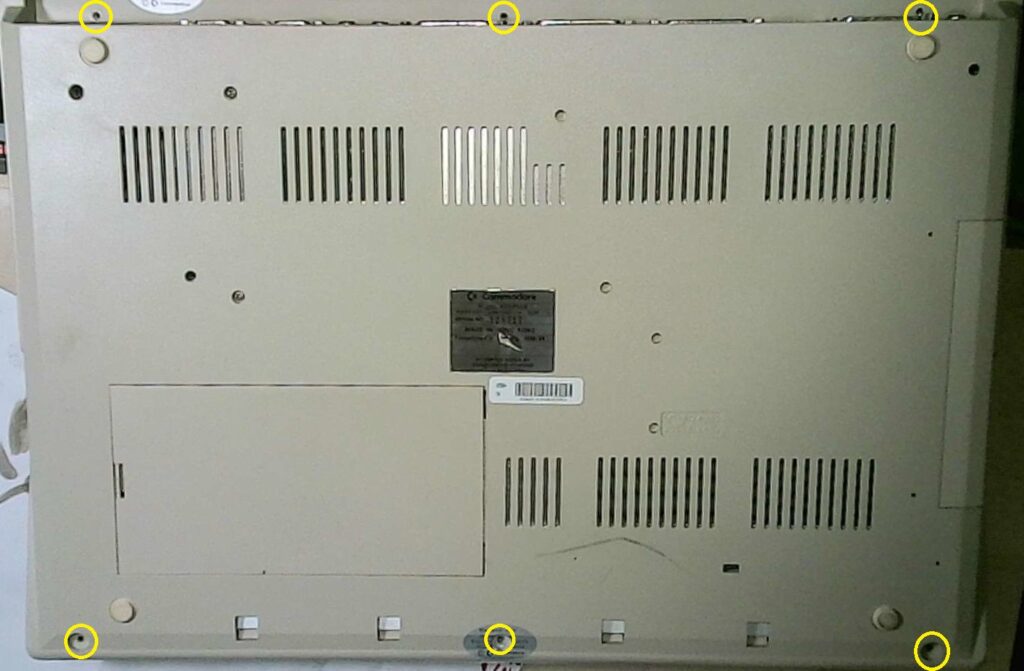
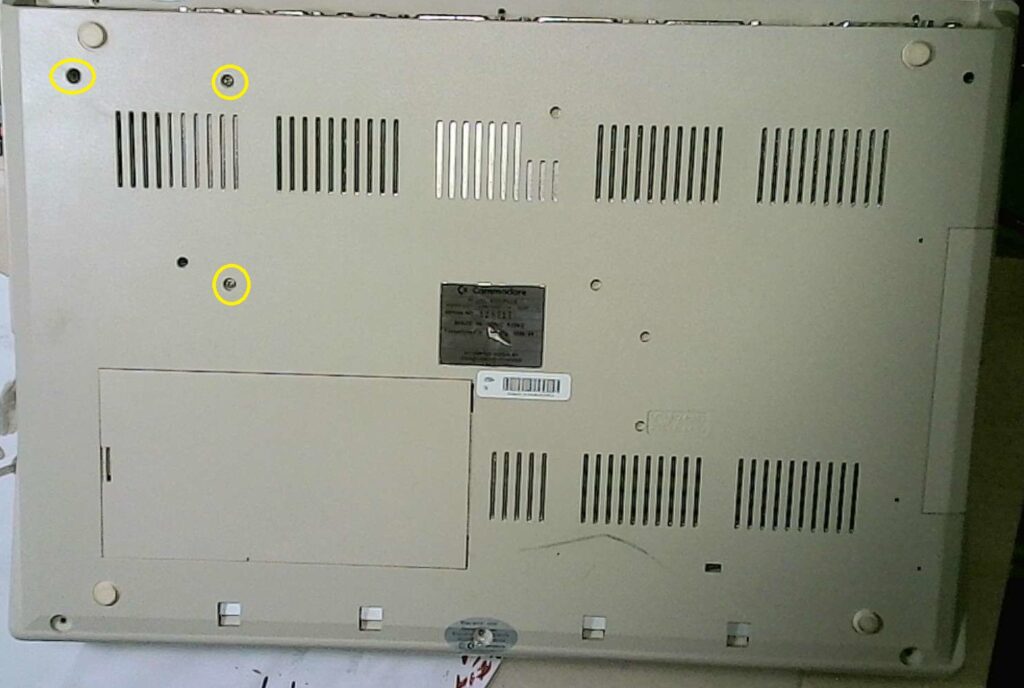
Stage 1: Opening the Amiga. For this a referred to a YouTube video from Retro Games Collector.
Yellow circles highlight which screws need to be removed.
Oh no, I’ve broken the warranty seal. Do you think they will take it back if there is an issue?
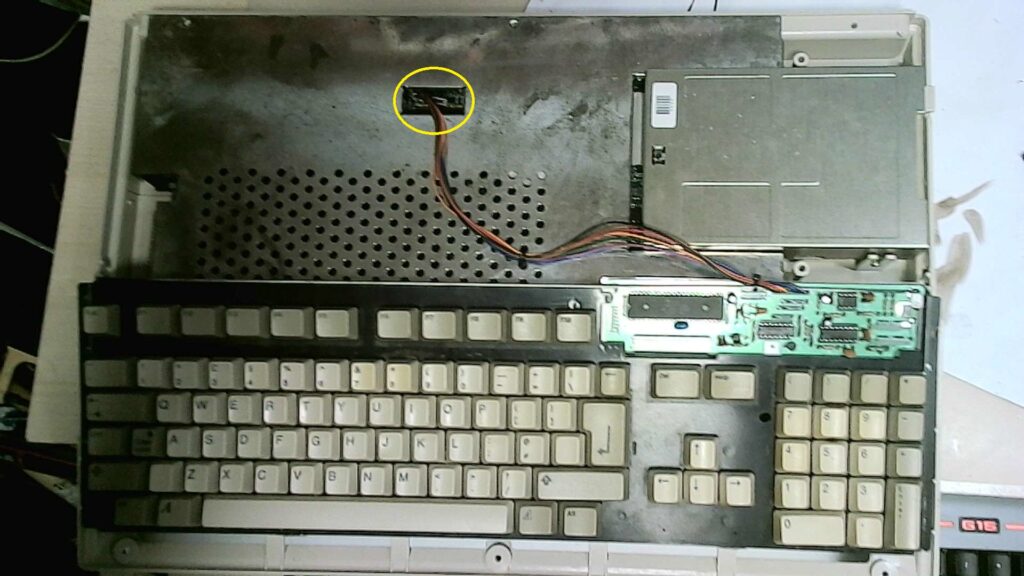
Flip over and carefully remove the front panel. Then remove the keyboard cable and the keyboard tray.
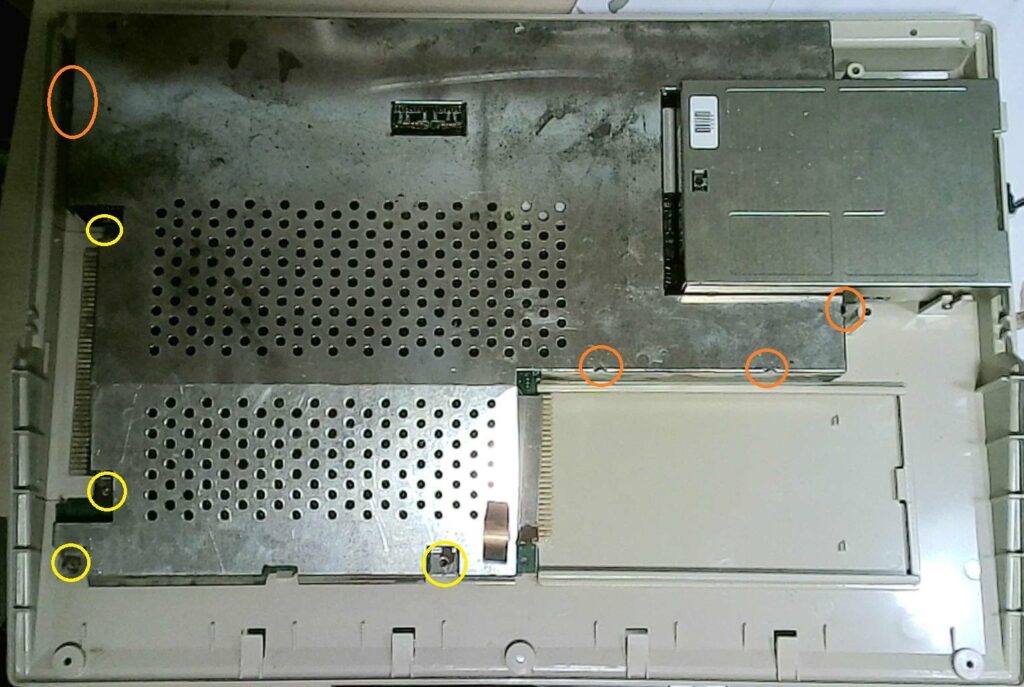
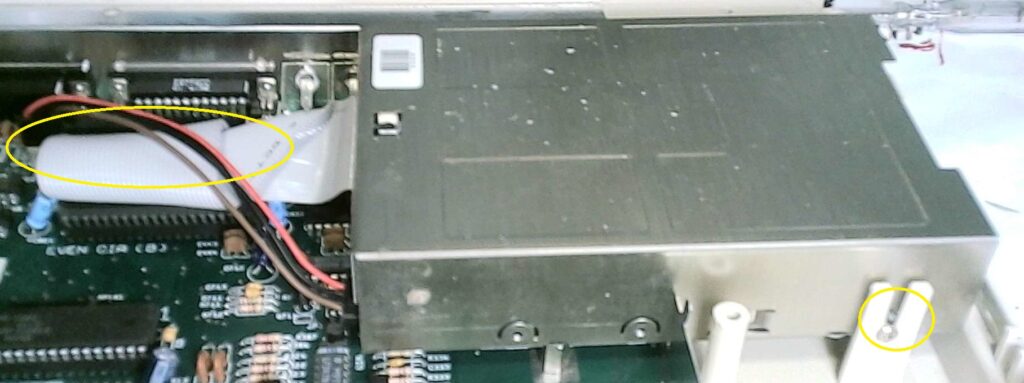
Remove the screws in the yellow circles.
Note on the left hand side expansion slot I’ve already remove the shield.
Pop up the tabs in the orange circles with a small flat bladed screwdriver.
Overall the RF shield is showing a bit of rust but looks in reasonable condition overall.
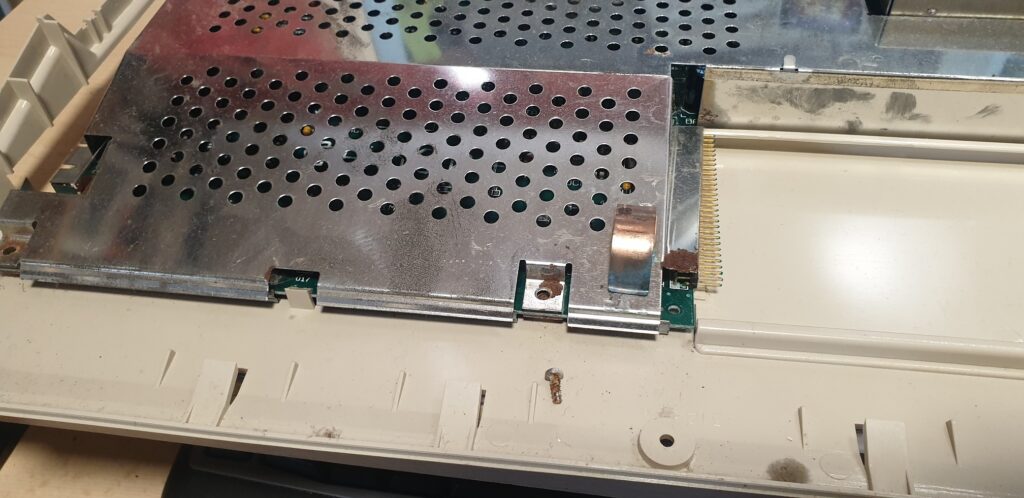
Removing one of the screws shows some rust and potential corrosion. This is not a good sign!
The RF shield can now be carefully removed.
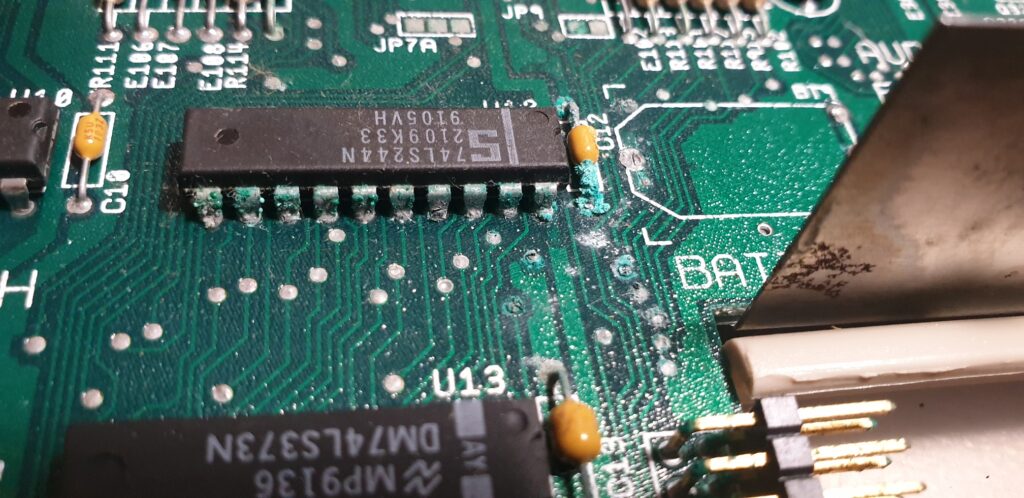
The positive terminal on the Varta battery looks ok, but the nearest resistors and diode terminals have some corrosion.
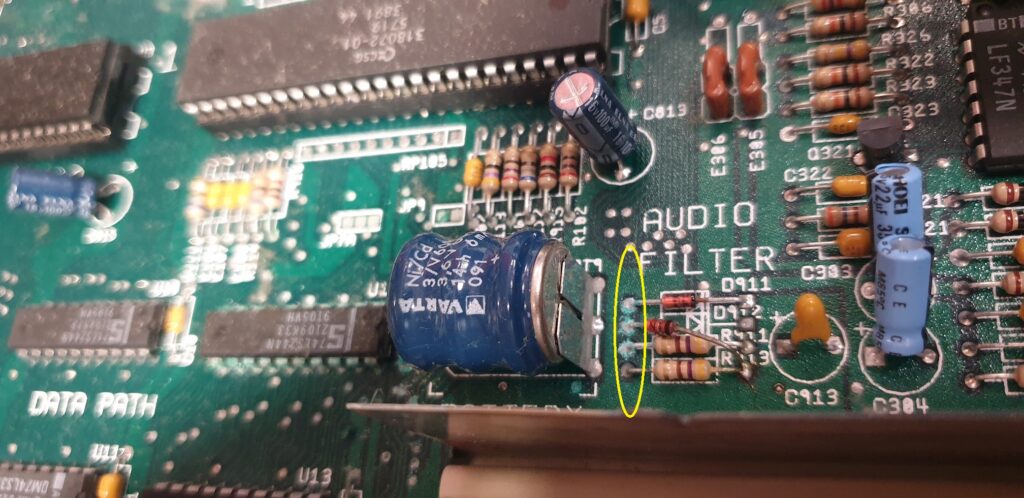
The negative terminal is showing some signs of corrosion but not as bad as I expected.
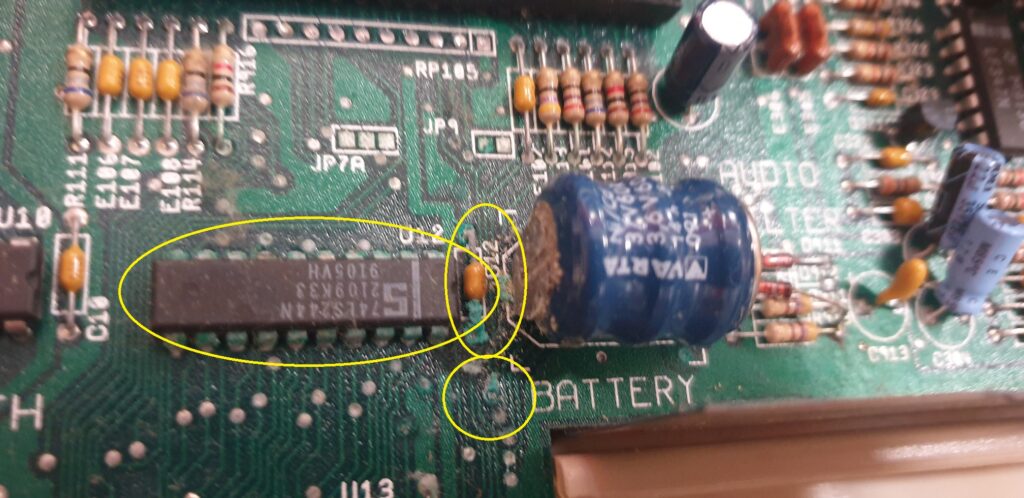
There is definitely some on the nearest capacitor, a couple of vias and the 74LS244N (octal buffers and line drivers)
While the corrosion is obvious it doesn’t look like there is damage to be board itself.
The next step was to take some clippers and remove the battery from the board and take a closer looks at any damage.
The board where the battery used to reside looks pretty good considering its age.
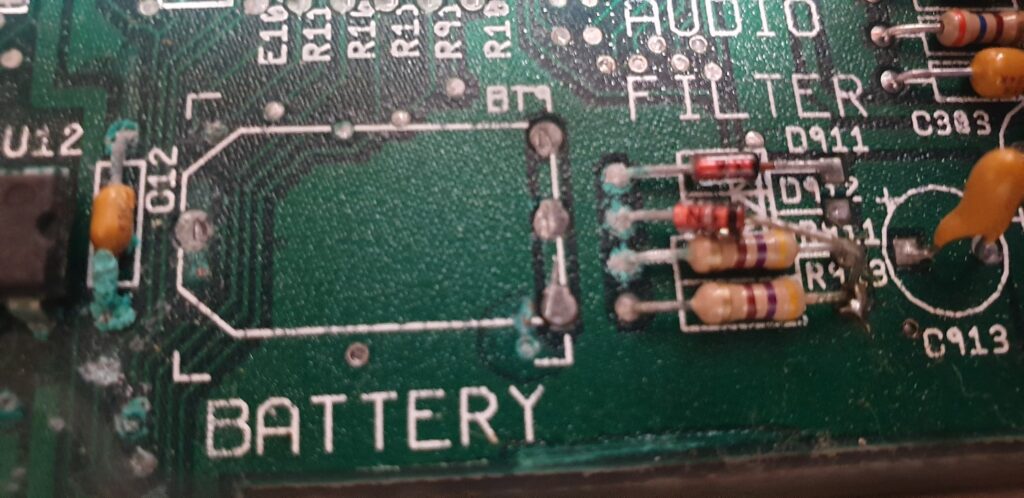
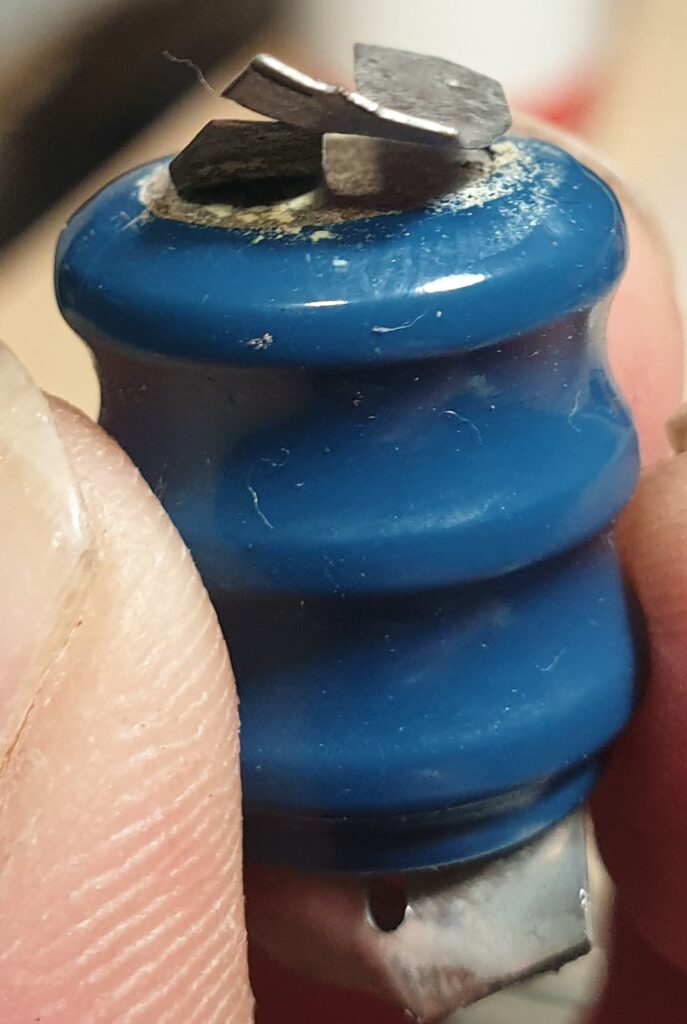
Taking a closer look at the battery, its definitely starting to go.
Taking a closer looks at the board around the battery. This seems to be the bulk of the corrosion.
At this time, I took the time to check all the electrolytic capacitors on the board as well. There was no sign of bulging or damage.
If there is damage on the top, what does the bottom side of the board look like?
On order to do this the floppy drive needed to be removed. This entails three more screws highlighted in the image on the left.
Removing another screw on the post, the power and data cables and the floppy drive should just lift out.
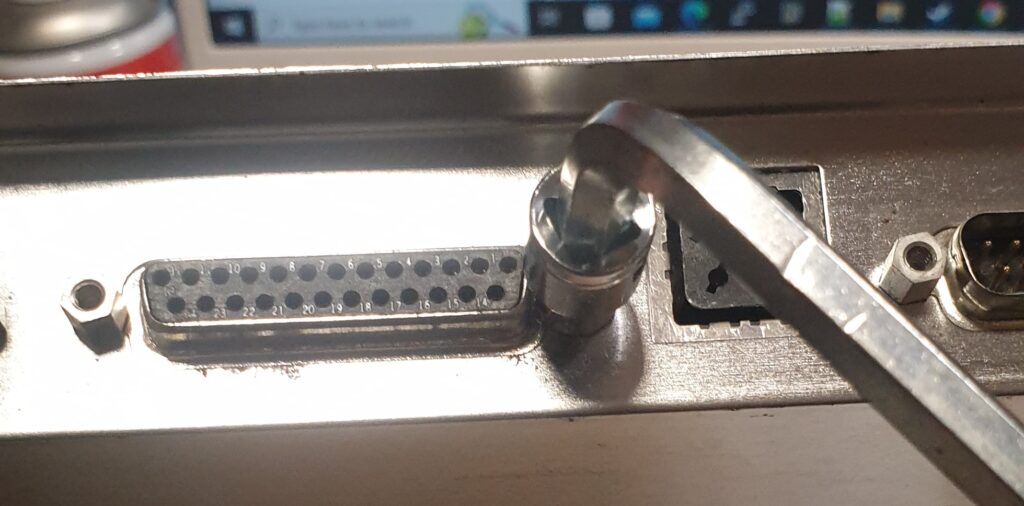
The bolts for each of the IO ports on the back of the Amiga need to be removed to be able to remove the board and RF shield tray.
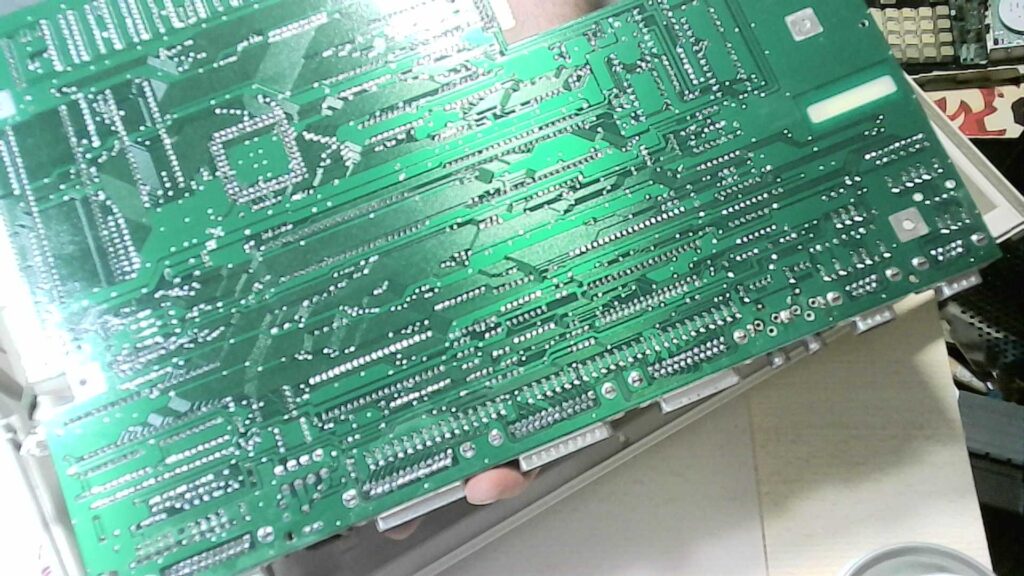
The back of the board looks totally fine, but the RF shield tray is showing signs of rust that will need to be dealt with.
Conclusion
The battery removal was fairly painless and although there is some signs of corrosion it looks like I got to it in time, but we will have to see once everything has been cleaned up.
The nostalgia of having an Amiga in front of me again is very real. I have no idea what I’m going to do with it other than reminisce about a different time, but maybe that will be enough,
Next Steps
So what’s next?
- Air dust the board and other parts of the Amiga
- Use Vinegar and then Isopropyl Alcohol (now on order) to remove the corrosion and check for any other damage once this is gone
- Give the whole board a scrub and clean with Isopropyl Alcohol
- Sand off the rust from bottom tray and paint over
- Look for a method of connecting to my normal monitors
- Enjoy!